💫Custom XML feeds
This feature makes it easy for you to customize the data fields synced from Shopify to GMC.
You can see how to Create XML feeds in here
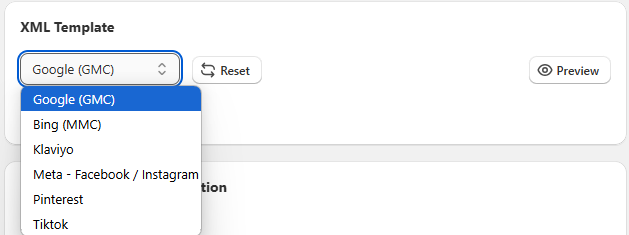
We support multi-channel XML feeds, including Google, Bing, Facebook, Klaviyo, Pinterest, and TikTok.
How to Customize Synced Fields from Shopify to GMC in XML Feed?
Step 1: Navigate to the XML Template Section
Open the XML feed template where you want to make adjustments.
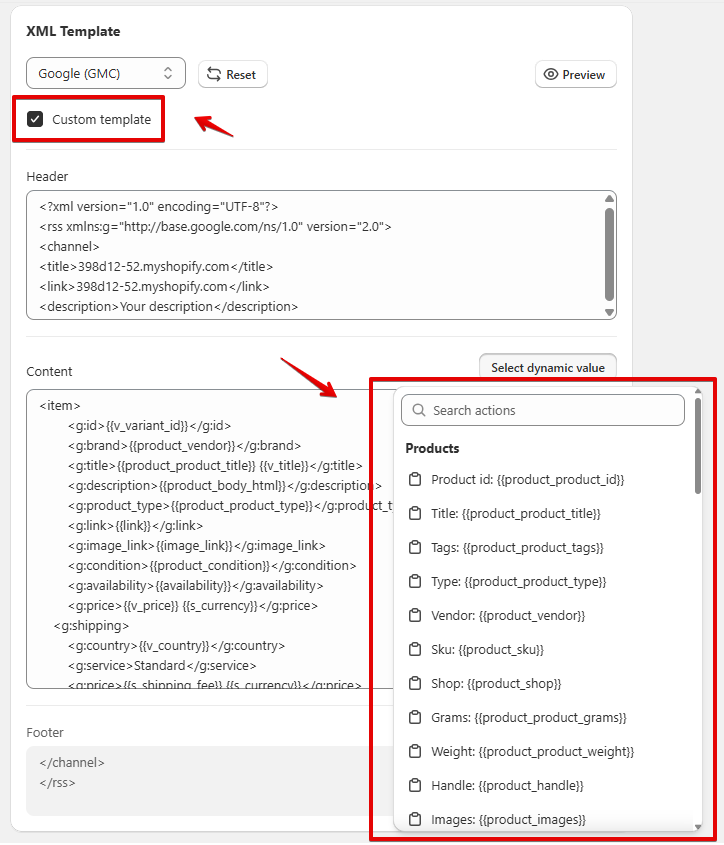
Step 2: Identify the Field to Customize:
Find the XML field you want to edit, such as <g:brand> or <g:title>.Copy
<g:brand>{{product_vendor}}</g:brand>
This means the Product Vendor field in Shopify will be mapped to the Brand field on GMC.
Step 3: Click “Select Dynamic Value”:
Use the “Select Dynamic Value” button to choose the Shopify field you want to map. For example:
- To map the Product Vendor, choose
{{product_vendor}}. - To map the Product Title, choose
{{product_product_title}}.
If you want to assign the Product Title value from Shopify to the Brand field on GMC, click the “Select Dynamic Value” button and choose {{product_product_title}}. The dynamic value will be saved to the clipboard.
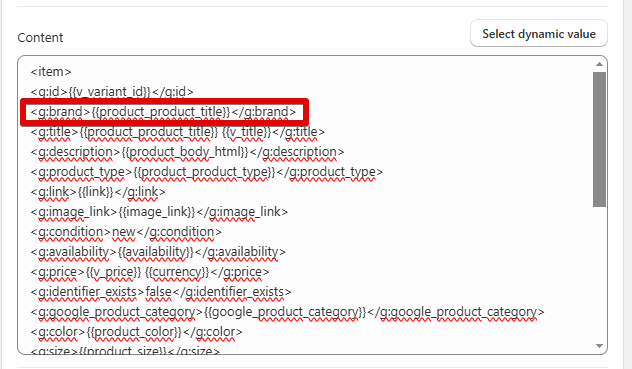
Step 4: Replace the Existing Value in the Content Box:
Replace the current dynamic value in the XML field with your selected value. For instance, change:
| Before | After |
|---|---|
| <g:brand>{{product_vendor}}</g:brand> | <g:brand>{{product_product_title}}</g:brand> |
Then, in Content box, directly replace the value {{product_vendor}} with {{product_product_title}
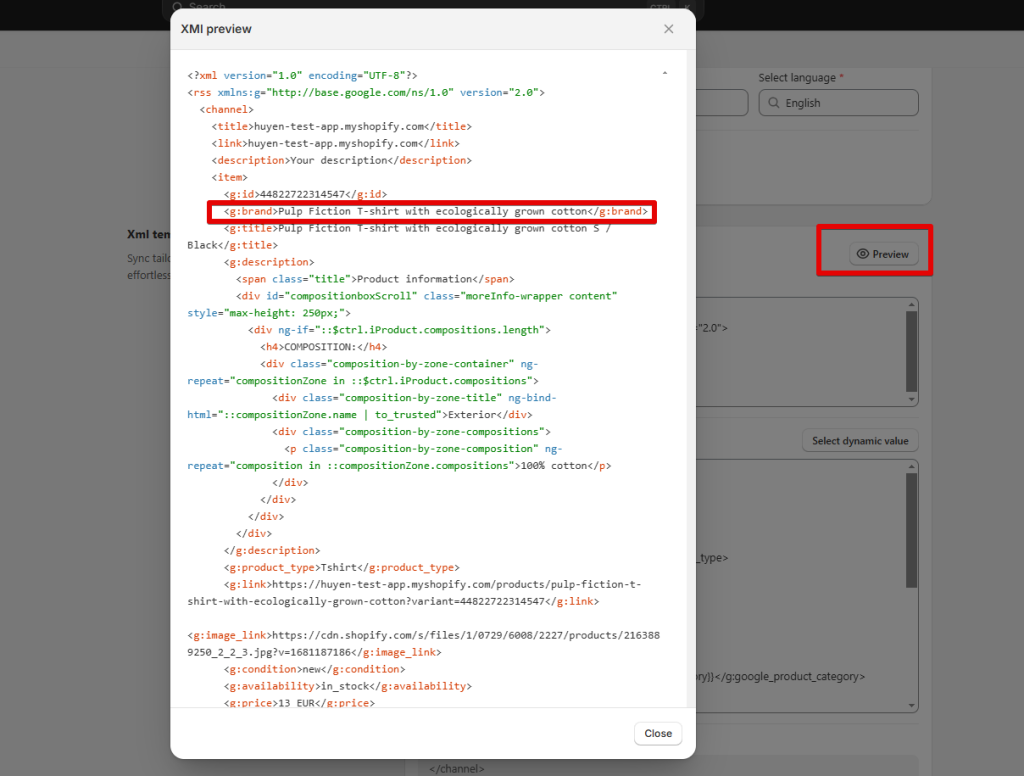
Step 5: Preview Changes
Click the “Preview” button to ensure your customizations are applied correctly.
Step 6: Save and Generate the Feed
Save your changes and generate the XML feed. Copy the new link to update it in GMC.