How to Add Products to Google Merchant Center: Top Methods Explained

Getting your products listed on Google starts with a solid understanding of how to add products to Google Merchant Center. Whether you upload them manually, use a spreadsheet, or connect via API, setting up your feed properly is the foundation for success.
In this guide, we will go method by method and show you exactly the steps required to have your items live on Google Shopping with speed and accuracy.
Requirements before adding products
Before your products can appear in search results or ads, Google needs to make sure your store meets a few basic standards. These requirements help confirm that your business is legitimate and customer-ready.
Google Merchant Center account
To get started, you need a Google account linked to Merchant Center. That is the place where your product data will live and sync to Google Ads.
Make sure you fill in your business information accurately. A complete profile helps avoid disapprovals later when submitting product feeds.

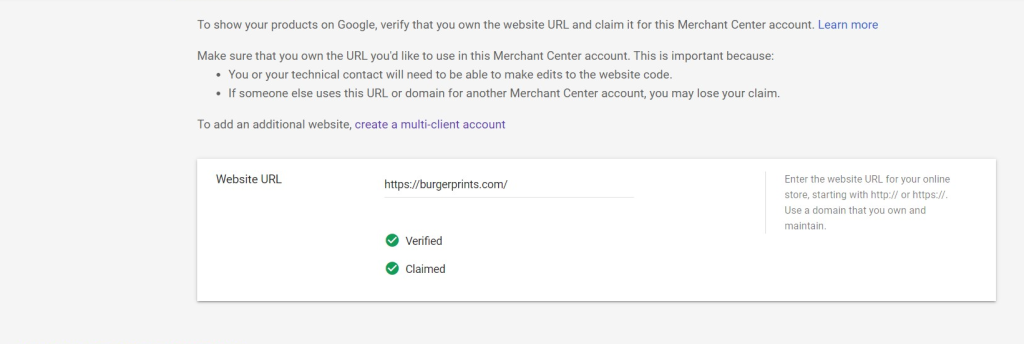
Verified and claimed website
Google requires that you verify ownership of your store’s website and claim it in Merchant Center. This ensures your data is linked to a real, authorized seller.
You can do this via meta tag, HTML upload, Google Analytics, or Tag Manager. Choose the method that works best for how your site is set up.
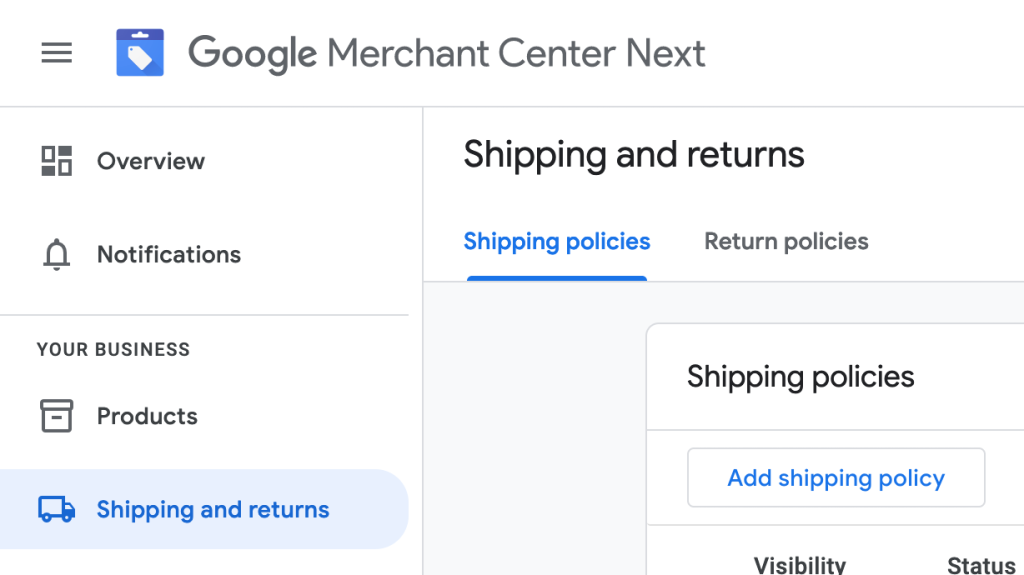
Shipping and return policy
Transparent shipping and return info is a must. Google checks if your policies are easy to find and clearly stated on your website.
Include estimated delivery, return policies, and who pays return postage: all these increase approval rates and therefore customer trust.
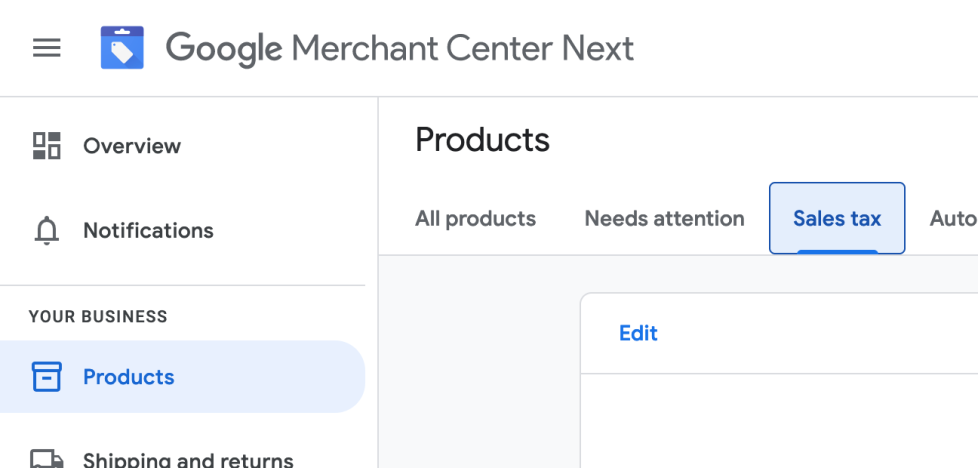
Tax settings (if applicable)
If you are selling to regions where tax settings matter, as in the US, then you will have to set up tax rules in Merchant Center.
For Shopify merchants, you can rely on Shopify’s built-in tax settings, which sync with Merchant Center automatically. Just make sure the tax displayed in your feed aligns with what customers are actually charged at checkout.
If you’re using another platform, tax rules will need to be set up manually within Merchant Center, typically by region or state, depending on where your products are sold.
How to add products to Google Merchant Center?
Google Merchant Center offers a variety of ways to upload product data to the Merchant Center. Here are four principal ways, updated according to Google Merchant Center Next.
1. Upload via Google Sheets
Step 1: In Merchant Center Next dashboard, go to Products > All products, click on “Add products” and select “Add multiple products.”
Step 2: Choose Google Sheets as the input method.
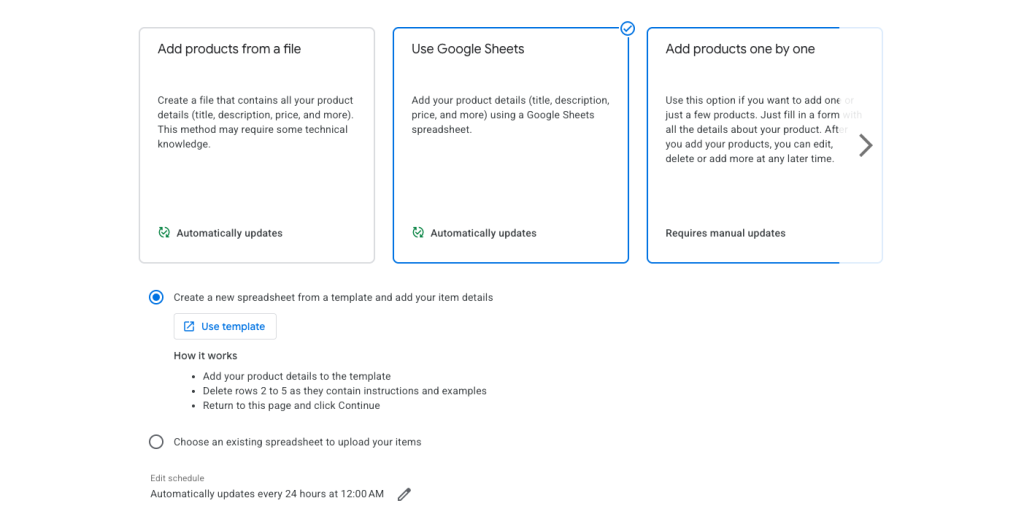
Step 3: Specify whether to use Google’s template or link an existing sheet.
Step 4: In your sheet, fill in the product information, with Google’s required attributes as column headers.
Step 5: Save and sync the sheet. Google will fetch product data and show validation status.
2. Upload via Content API
Step 1: Set up a Content API integration via your eCommerce platform or developer integration.

Step 2: Link your Content API credentials with Merchant Center.
Step 3: Format your product data to conform to Google’s Content API specifications.
Step 4: Push product data directly via API from your backend.
Step 5: Monitor syncs and errors on the Products > Diagnostics section.
3. Add products from a file
Step 1: In Merchant Center Next, go to Products > All products, click “Add products” and select “Add multiple products”.
Step 2: Choose Add products from a file as your method.
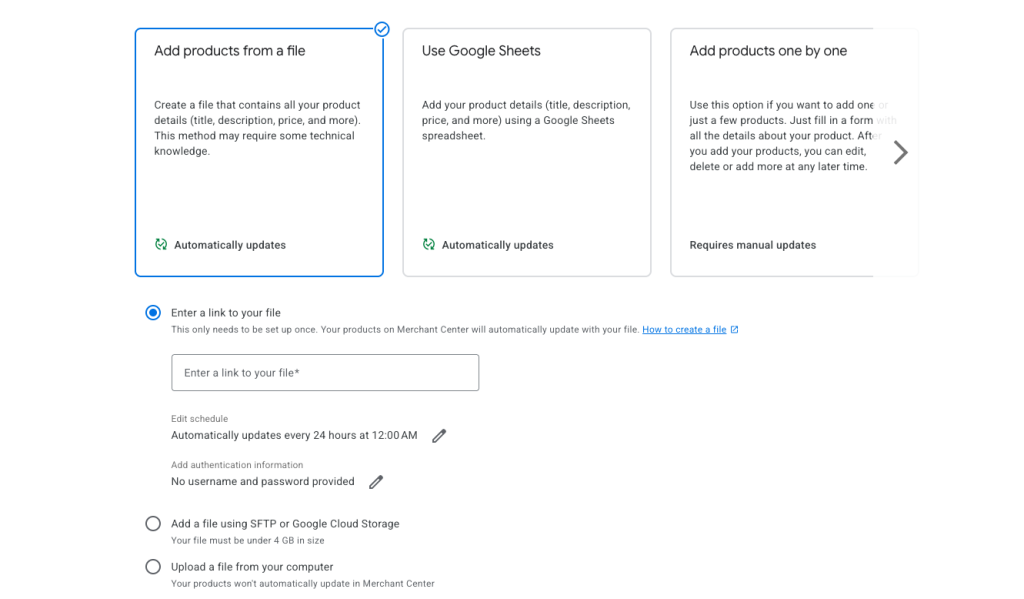
Step 3: Upload your product feed file in .csv, .tsv, or .xml format.
Step 4: Specify whether the file is a one-time upload or should be fetched automatically (i.e. scheduled fetch).
Step 5: Submit the file and monitor upload status under Products > Diagnostics.
4. Manual upload one by one
Step 1: In All products, click “Add products” and choose “Add products one by one”.

Step 2: Fill out the form with details like product title, description, price, availability, and image link.
Step 3: Submit the product manually.
Step 4: You can return to edit or delete the listing at any time.
Step 5: Keep in mind that this method requires manual updates for each change.
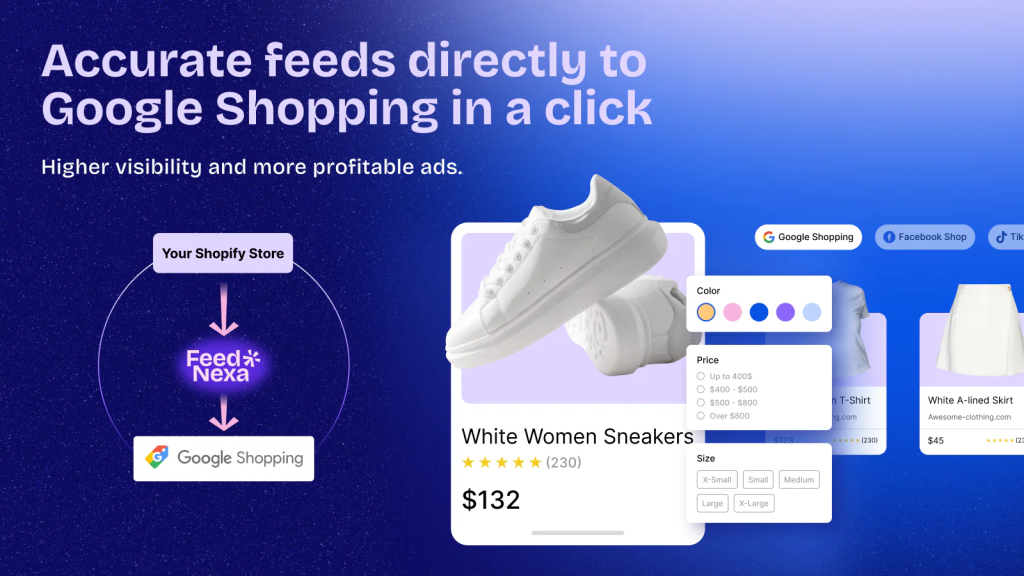
💡 Looking for a quicker and more reliable way to sync your products? FeedNexa automates your product feed creation and updates, eliminating the need for manual uploads and missed changes. This is especially useful if you have a large catalog to manage or want greater control over syncing accuracy.
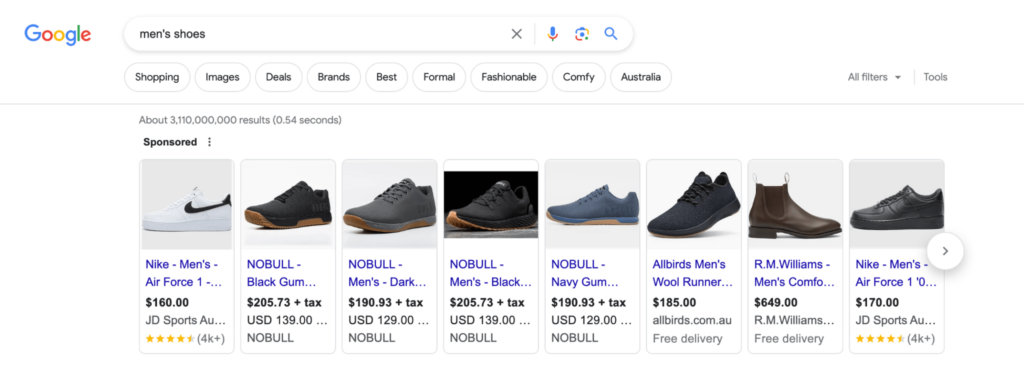
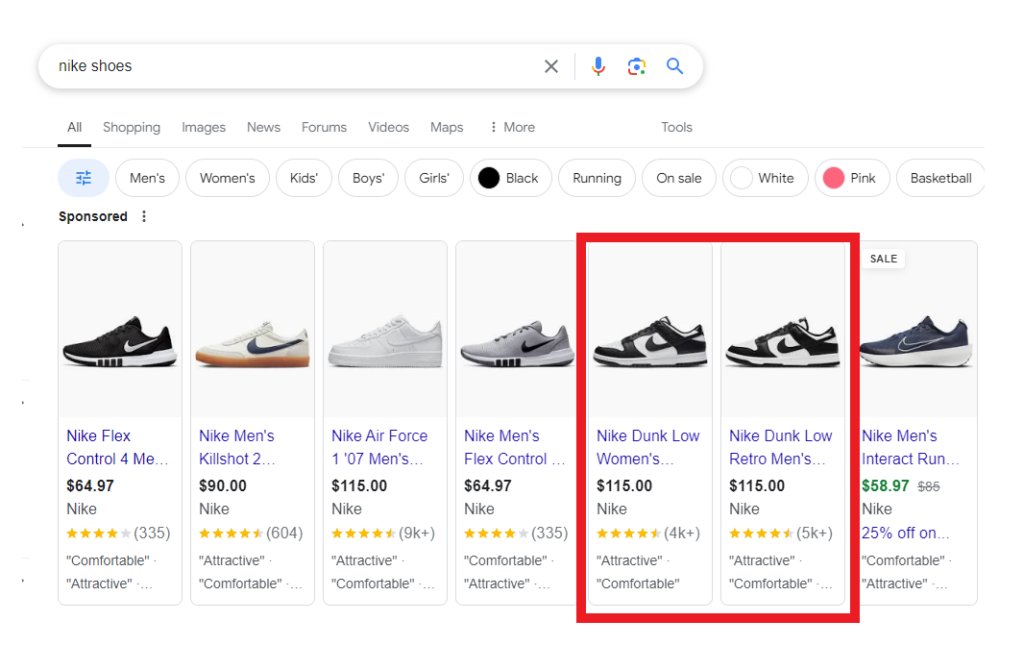
Bonus: Promote your products with Google Ads
After your products are approved in Merchant Center, they become eligible to appear on the Google Shopping tab via free listings whenever users search for relevant terms.
If you want to increase their visibility and attract more potential customers, consider promoting them through paid Google Ads campaigns. Here’s how:
Step 1: Set up a Performance Max or Shopping campaign
Go to Google Ads > Campaigns > New Campaign.
Select Sales, or Leads for your goal.
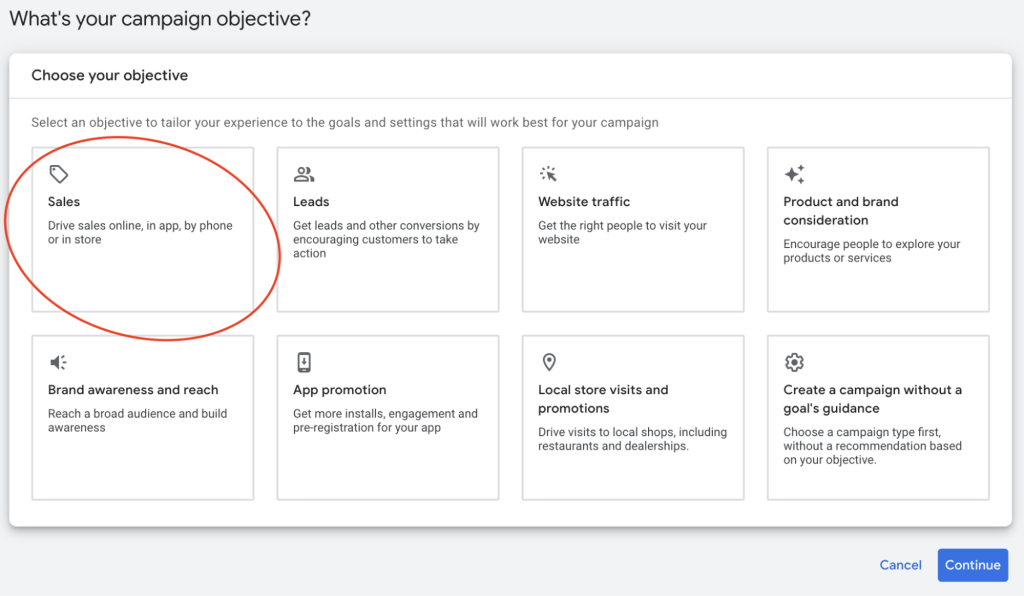
Then select either “Shopping” or “Performance Max.”
Step 2: Confirm your linked Merchant Center feed
Google automatically links your Merchant Center and Google Ads accounts, but you still need to choose the correct product feed during campaign setup, especially if you manage multiple accounts or feeds for different countries.
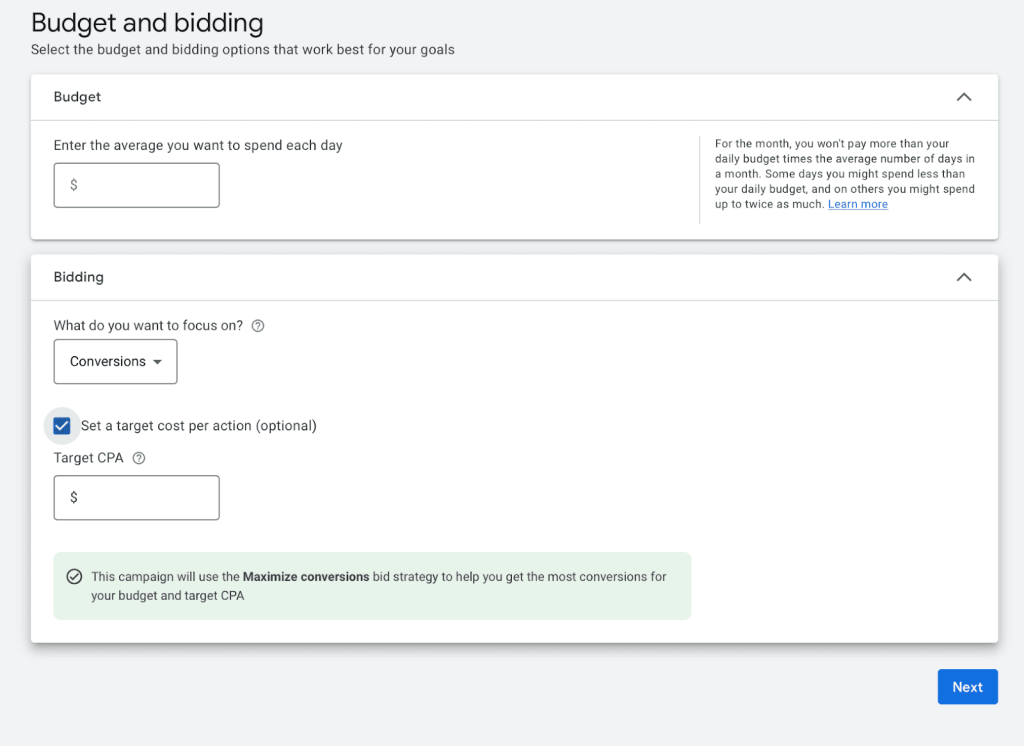
Step 3: Define targeting, bidding, and budget
Set the daily budget, bidding strategy (e.g., maximize conversion value), and targeting settings.
You can choose to advertise all products at once or specific product segments based on category, brand, or custom labels.
Step 4: Launch and monitor
Finalize the setup of the campaign and go ahead with launching it.
You will be able to keep track of the product’s performance using both Google Ads and Merchant Center.
Best practices to get approved quickly
Following these technical steps does not guarantee that you will have success in getting your products visible and approved. Here are some best practices for boosting your approval rate in addition to avoiding common denials.
Use high-quality product images
Google loves clear product images showing products front and center. Do not watermark, showing logos or promotional files that spoil the photo.
Whenever possible, use white backgrounds and put the highest resolution possible. This approves and increases CTR.
Write accurate and keyword-friendly titles
Title should reflect what customers actually search for. Use naturally suited keywords for attributes like color, size, or material whenever appropriate.
Avoid gimmicky “Best Deal,” “Free Shipping” promotional language. It should be clear and specific to the product.
Double-check availability and price
Google matches your product data against what is shown on your website. If prices or stock do not match, the listing will be rejected.
Before uploading, make sure all the data, especially about price and availability, match what is visible on your live site.
Make sure landing pages work
Every product listing must have a correctly working link to the landing page. Broken links or oddly redirects will mean Google will not approve the listing.
Also, check that the product name and image are the same as the ones in your feed. It matters that the store and feed are consistent in this regard.
Set clear shipping and return policies
Google requires visible, easy-to-understand shipping and return policies. Without or vague information is often disapproved.
Ensure these policies are placed within your footer or product pages, while also ensuring proper linking from everywhere within your site. Transparency builds trust.
Ensure your website includes required legal pages
Google requires your store to have essential legal pages like Terms of Service and Privacy Policy clearly visible. Missing or hidden legal content is a common reason for disapproval.
Place these pages in the footer of your store so they’re accessible from every page. This not only helps with Google Merchant Center compliance but also builds trust with shoppers.
Common issues when adding products & how to fix them
Even if your product data looks fine, Google Merchant Center is still very strict. A minor issue could result in rejection. Here are some common problems and quick troubleshooting solutions.
Mismatched product data
The most frequent cause of disapproval is when product information in the feed differs from what is on your own website, especially price and availability.
Double check all before submission. Google has already crawled your landing pages, so inconsistencies would soon create errors or even disapprovals.
Unsupported or missing GTINs
Depending on the type, GTIN is compulsory for a particular product category. Either they’re missing or mostly, invalid codes lead to rejection or limited visibility of the product.
Use manufacturer-provided GTINs where possible. But if it doesn’t have, identify that item as “identifier exists=no” to comply with the attribution.
💡Learn More: What is GTIN in Google Merchant Center? A Complete Beginner’s Guide
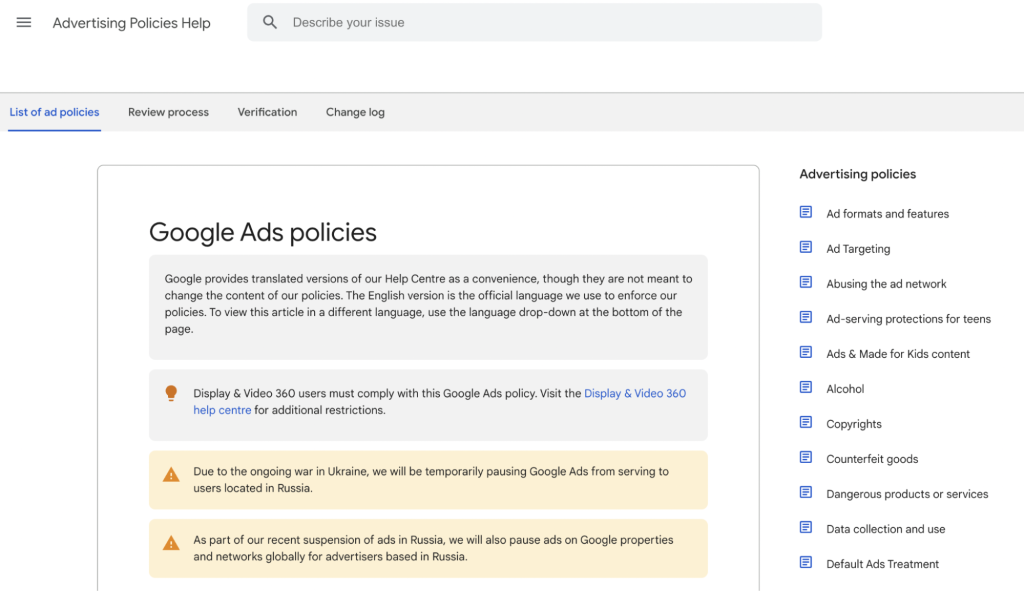
Policy violations or restricted content
There are some products flagged for violation of Google policies, such as adult products and claims about misleading alcohol products.
Review closely Google Shopping Ads policy. If the item is categorically sensitive, use the right attributes and generally avoid promotion phrases.
Conclusion
It’s not that difficult to add products to Google Merchant Center; it requires impeccable accuracy. Everything from uploading the feed to launching Shopping campaigns plays a part in getting products seen.
If you wish to save time and errors, using a feed management tool such as FeedNexa makes the whole process more hassle-free. Listing has never been so easy!