How to Connect Google Merchant Center and Shopify Like a Pro
Promoting your Shopify products on Google is a powerful marketing strategy, but first, you must connect Google Merchant Center and Shopify. While Shopify manages your store, Google Merchant Center optimizes your product data for Google Shopping campaigns. This guide covers the best approach to boost visibility and drive sales.
Why is Google Merchant Center and Shopify Integration Essential for Brands?
Shopify and Google Merchant Center work like a car and fuel to extend distance, giving brands visibility and keeping the product page processing simple. Products in the Google Shopping and other Google services can show up with this binding:
1. Sync Products Automatically
Listing products on separate platforms is probably the longest, most tedious task that will give rise to a mountain of errors. Linking Shopify with Google Merchant Center automates an addition of an item to the Google Merchant Centre.
This means that everything about a product, say, image, price, description, or availability of the product will sync automatically with no manual uploads. By ensuring your product data is updated consistently across all platforms, you are decreasing confusion that could lead to listing errors or disapprovals.
2. Update Listings Directly from Shopify
There is no need to log in to Google Merchant Center for making a change: It can be done directly from the Shopify admin panel. Any modifications made to product titles, descriptions, prices, or stock levels within Shopify will reflect in Google Merchant Center instantly. This saves time and keeps all product details correct and in sync with the store, providing a seamless experience for the customer.
3. Give Google Direct Access to Your Product Data
Product data is pulled into Google Merchant Center straight from Shopify. With this, the chances are low that information is outdated or missing since Google can directly access crucial product information such as pricing, inventory, and availability in real-time, assisting search rankings and ensuring your products meet all Google listing requirements.
When accurate and structured data is submitted, the possibilities of those listings coming up on relevant searches are so high that it boosts the chances of grabbing potential buyers.
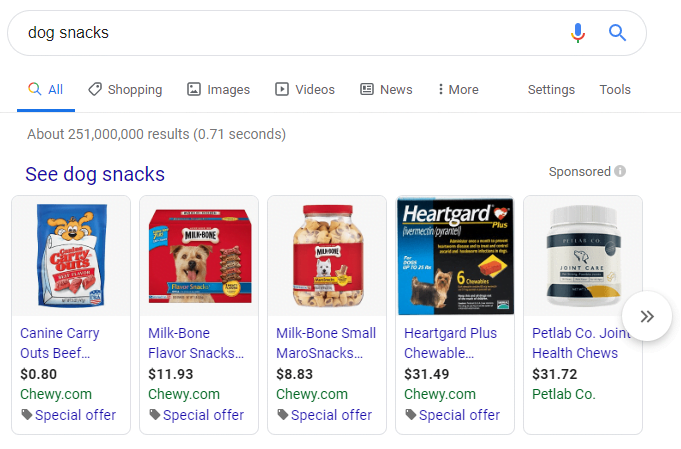
4. Boost Product Visibility on Google
Google Merchant Center is your gateway to showcasing your products across Google’s vast network, including Google Search, YouTube, and partner sites. By listing your products, you unlock opportunities to reach high-intent shoppers right where they search and browse.
Once set up, you can launch Performance Max or Standard Shopping campaigns to target users actively looking for products like yours. With real-time syncing, your ads always display the latest prices and availability, leading to better ad performance and higher conversion rates.
How to Connect Shopify to Google Merchant Center?
Method 1: Using Automated Apps in Shopify
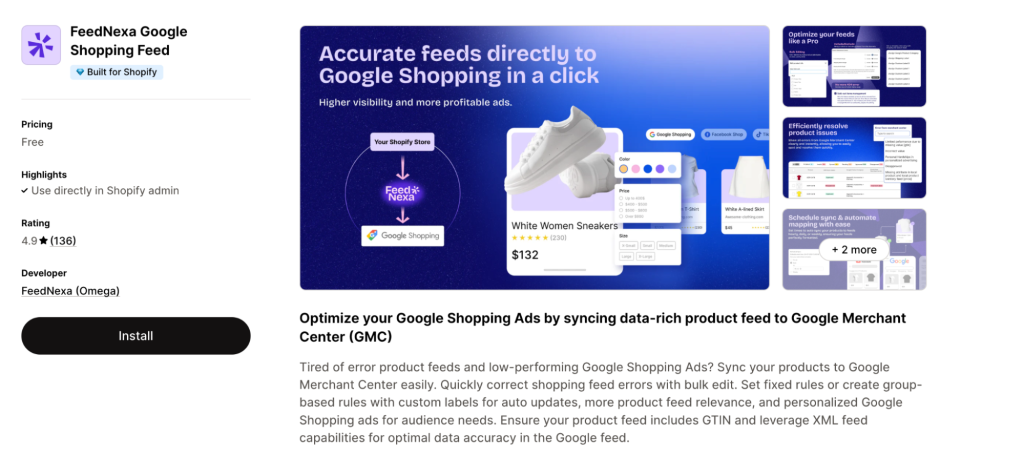
This is the most traditional and easiest way out there to connect Shopify to Google Merchant Center. You can install apps like FeedNexa Google Shopping Feed to automate and optimize product feed submission. FeedNexa ensures better data accuracy and compliance with Google Shopping policies.
Step 1: Install the Feednexa App in Shopify
- Go to Shopify Admin and click Settings.
- Select Apps and Sales Channels.
- Click Shopify App Store and search for Feednexa.
- Click Add App → then Install App.
Step 2: Connect Your Google Account and Merchant Center
- Open the app from your Shopify Admin.
- Click Connect Google Account.
- Sign in to your existing Google account or create a new one.
- Select or create a Google Merchant Center account.
- Click Allow to grant Shopify the necessary permissions.
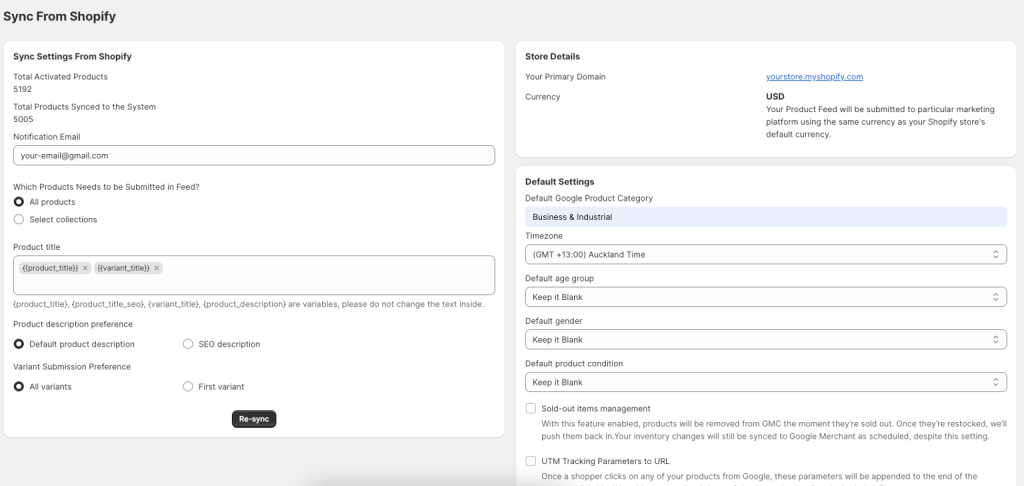
Step 3: Verify Your Store and Set Up Product Syncing
Verify ownership of your Google Merchant Center account. (Shopify automatically verifies your store in most cases.)
Select where you want to list your products (Google Shopping, Free Listings, or Google Ads).
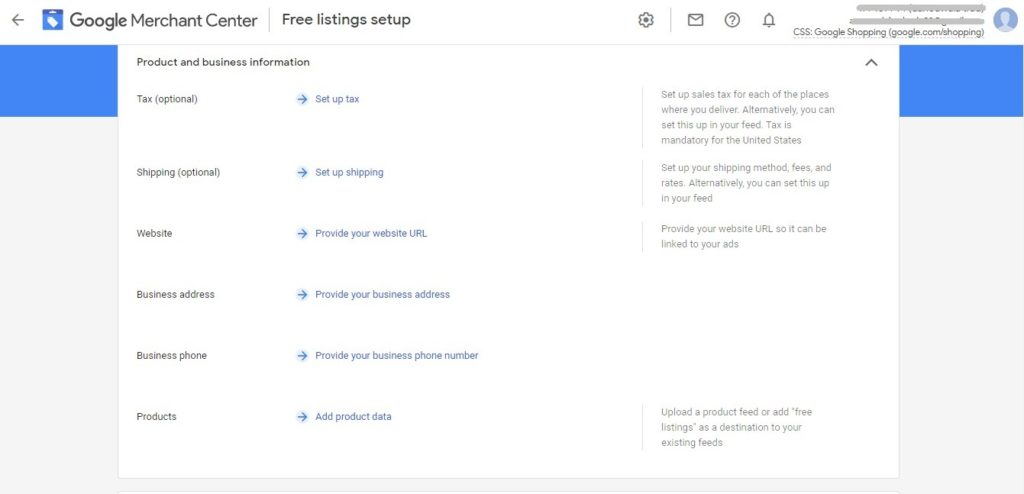
Review and meet Google’s Merchant Center requirements:
- Add a return policy.
- Set up shipping settings.
- Ensure your domain is verified.
Click Approve to allow Shopify to add your products to Google Merchant Center and keep them updated automatically.
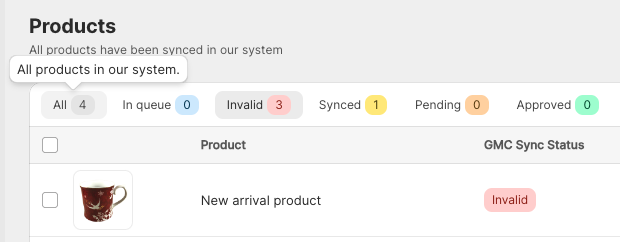
Step 4: Review ‘Product Status’
FeedNexa pulls sync results from Google Merchant Center into the app, allowing users to see any product issues. Users can then bulk edit directly in the app, and the app automatically pushes the updates back to GMC.
Method 2: Linking Shopify as a Partner in Google Merchant Center
This is ideal for the merchants who want to do Google Shopping Ads or create listings away from the built-in product sync of Shopify. Instead, create Google Ads campaigns for your Shopify products, but unlike Method 1, this one does not automatically sync product data between Shopify and Google Merchant Center.
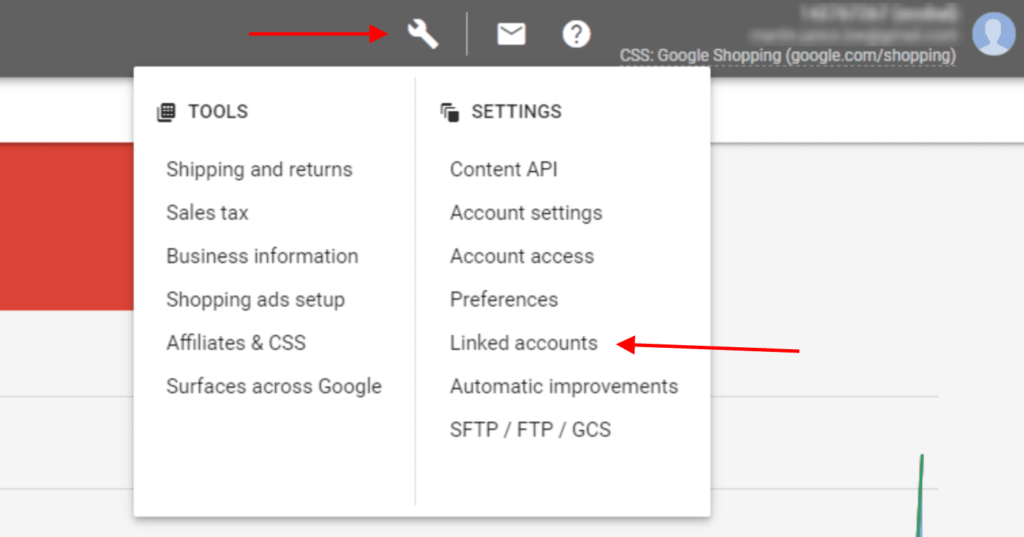
Step 1: Access Linked Accounts in Google Merchant Center
- Go to Google Merchant Center → Google Merchant Center and log into your account.
- Click on Settings in the left-hand menu.
- Select Linked Accounts.
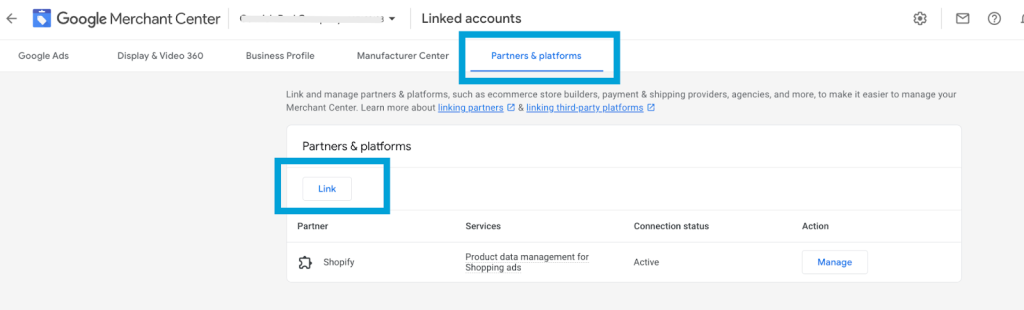
Step 2: Link Shopify as a Partner Platform
- Under Linked Accounts, navigate to Partners & Platforms.
- Click Link a Platform.
- Find and select Shopify from the list.
- Click Link to establish the connection.
❗Important Notes:
If your products aren’t syncing automatically (because you didn’t use Method 1), you’ll need to manually upload a product feed to Google Merchant Center.
Google Shopping Ads work best when your product feed is error-free and optimized, which is where FeedNexa can help.
💡 Read more: How to Create Google Shopping Feed that Drives Clicks & Sales
Method 1 vs. Method 2: Which One Should You Use?
So, you now know that there are 2 main methods to connect Shopify to Google Merchant Center. But if you’re still unsure about which one to choose, let me help you decide!
| Feature | Feednexa App | Linking Shopify as a Partner |
|---|---|---|
| Automatic Product Syncing | ✅ Yes – Real-time updates | ❌ No – Requires manual feed upload |
| Easy Setup | ✅ Simple, beginner-friendly | ❌ More complex, requires manual work |
| Feed Optimization | ✅ Advanced bulk editing, custom labels & structured data | ✅ Full control over product feed, but requires manual uploads |
| Google Shopping Ads | ✅ Supports Google Shopping Ads with optimized feeds | ✅ Essential for ad management, but requires manual feed submission |
| Error Handling | ✅ Detects & fixes feed errors (missing GTINs, pricing mismatches, etc.) | ✅ Can be improved using FeedNexa |
| Scheduled Syncing | ✅ Hourly, daily, or weekly automatic updates | ❌ No automatic syncing – must manually update feeds |
| Best for Beginners? | ✅ Yes – Easy to use, minimal setup required | ❌ No – Requires advanced knowledge of feed management |
Conclusion:
- Use Method 1 if you want automatic syncing between Shopify and Google Merchant Center.
- Use Method 2 if you want full control over your ads and prefer manual product feed management.
Closing
You would know that the eCommerce platforms and Shopify are among the top most successful online platforms. While adopting the effective techniques of integrating the major marketing channels, the best way to leverage the online marketing efforts is by partnering the channels to improve successful campaigns.
In addition to Google Shopping, Local Inventory Ads, Google Maps, and YouTube, it’s very important to first learn how to connect Google Merchant Center and Shopify.